MouseMux Manual
Last updated July 12, 2026
Welcome
MouseMux turns a single Windows PC into a multi-user machine. Plug in extra mice, keyboards, pens or touchscreens and each one gets its own independent cursor, with its own color, speed and behavior. Several people can then work on the same screen at the same time, side by side or over remote desktop.
A one-minute introduction video
It is a deep and flexible tool, so it helps to know what you are getting into. Getting started is genuinely quick: plug in a second mouse, press Multi-cursor, move it, and you have two cursors. Beyond that, almost anything is possible: per-device acceleration, button remapping, converting one input type into another, simultaneous typing, macros, built-in multi-user apps and remote collaboration. All that capability means there are choices to make, so dialing in the perfect result for your specific use case usually takes a little configuration. The defaults are sensible, and this manual walks you through the rest step by step.
A quick word on modes, because they shape everything else. MouseMux has two main interaction modes. Switched (the default) is rock-solid: everyone can move, drag and type at the same time, taking turns only on a click. Multiplex is the advanced mode that adds fully simultaneous clicking in separate windows. Start in Switched, and switch to Multiplex whenever a setup needs it. There is a full explanation in Interaction Modes below.
What it can and can't do. MouseMux is powerful, but it is not magic: it will not turn every program into a multi-user app at the press of one button, and how well it works depends on the programs you use and how you use them. Moving, dragging and typing together always works in Switched mode. Fully simultaneous clicking is what Multiplex adds, and it works with most programs, though not every single one. Games vary too: many play perfectly as local multiplayer, a few do not cooperate. The fastest way to know is the free edition - try it on your own PC, your own apps and your own use case, and see exactly how it fits before you decide anything.
Start Center
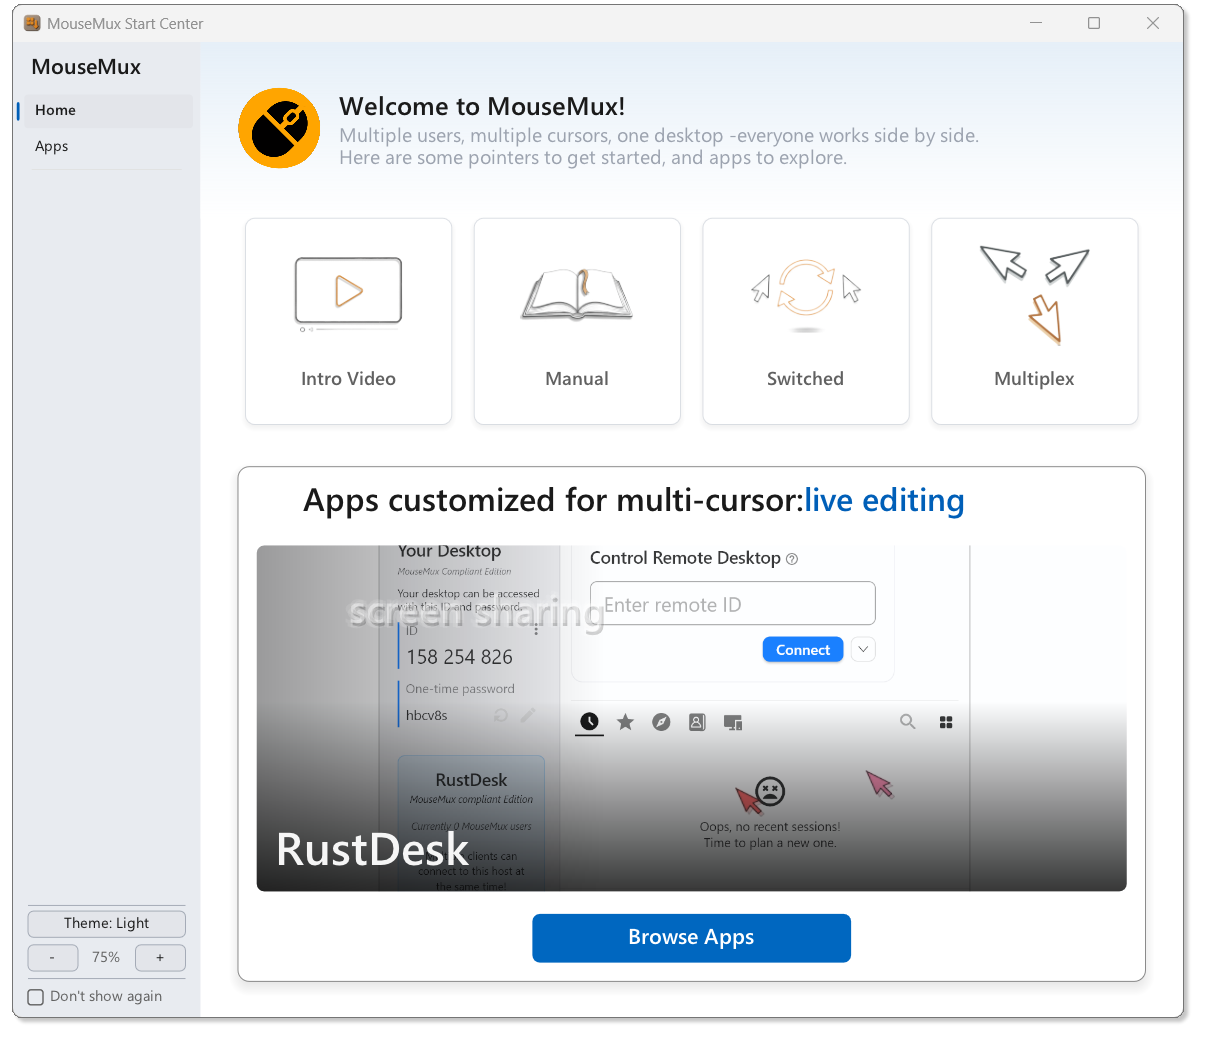
On startup, the Start Center opens alongside the main window. The Home tab has quick links to a video introduction, this manual and explanations of the interaction modes. Use Theme to switch between Light and Dark, and +/- to adjust zoom. Check Don't show again to skip the Start Center on future launches.
The Main Window
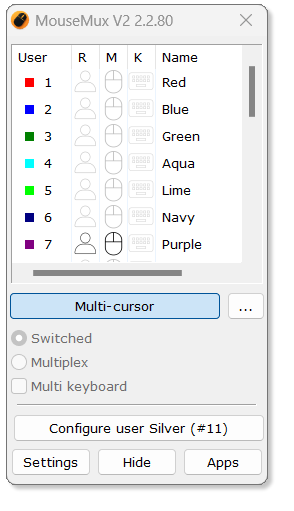
The main window is your control center. It shows every detected pointer device, lets you choose the interaction mode, and gives quick access to settings and apps.
Device Registration
Move a mouse to register it - the R icon turns black and a color is assigned. Hit a key on a keyboard while your pointer is the most recently moved - that keyboard pairs to your user.
Status Icons
R - registration status (black = registered, orange = root user, red = blocked). M - flashes orange on mouse movement. K - flashes orange on keyboard activity.
Quick Actions
Double-click a user row to open their configuration. The bottom bar has Settings, Hide and Apps buttons.
Interaction Modes
Press the Multi-cursor button in the main window to start - everyone gets their own cursor in Switched mode, which is all most setups ever need. The ... button next to it is the gateway to the more advanced modes: it opens a short guide and then reveals the mode selection options underneath. Because Switched is the right choice for the large majority of users, those options stay tucked away until you deliberately open them.
Multi-cursor (Switched) Default
Each user gets their own cursor. Users can independently drag and resize windows and type in different windows at the same time. Active interaction is switched - when one user holds down a mouse button, others are blocked from clicking (they can still drag windows and type). The user holding the button is the root user.
Best for: most setups - classrooms, shared workstations, collaborative work.
Multiplex Advanced
Extends Switched mode with full concurrency - each user can work in a separate window or program at the same time. Once a user clicks on a program, they become the owner and all their mouse and keyboard input is directed to that program.
Works with most programs but not all. Start your programs in Switched mode first, then switch to Multiplex and click on the application you want to work in.
Best for: dedicated multi-user stations where each person works in their own application.
Multi Keyboard
Adds independent keyboard routing and works with both Switched and Multiplex. Each keyboard is directed to the window its user clicked in, so multiple users can type in different windows at the same time. Some programs may not fully support this.
To pair: move a mouse, then press any key - that keyboard binds to the cursor that moved last. To re-pair, go to the Keyboard tab and click Unmap. If you share one keyboard between users, uncheck Multi keyboard in the main window.
| Actions | Native | Switched | Multiplex |
|---|---|---|---|
| Typing in different windows (Multi Keyboard disabled) | No | No | No |
| Typing in different windows (Multi Keyboard enabled) | No | Yes | Yes |
| Dragging and sizing different windows | No | Yes | Yes |
| Using the mouse wheel in different windows | No | Yes | Yes |
| Clicking in different windows after each other | No | Yes | Yes |
| Clicking in different windows at the same time | No | No | Yes |
| Dragging inside windows at the same time | No | No | Yes |
User Configuration
Click the user button in the main window (or double-click a user row) to open the configuration panel. Every setting only affects that specific user - each user can have their own acceleration, theme, overlay, macros and more.
Input
Shows hardware identity, live state, and capabilities for the pointer device assigned to this user. Hover over the numbered spots in the image for details on each element.
Output
Controls how this pointer device behaves - output type, pen/touch emulation, and overrides. Hover over the numbered spots in the image for details on each element.
Keyboard
Shows which keyboard is paired to this pointer and provides options for how keystrokes are delivered to applications. Hover over the numbered spots in the image for details on each element.
Pairing Basics
Move your mouse, then press any key - the keyboard auto-pairs to whichever cursor moved most recently. To unpair, click Unmap. The keyboard options take effect in Multiplex mode or when Multi keyboard is enabled in the main window.
User
View usage statistics and change the display name for this user. Hover over the numbered spots in the image for details on each element.
Ballistics
Configure the acceleration curve that translates raw mouse movement to cursor movement. Each user can have their own acceleration feel. Hover over the numbered spots in the image for details on each element.
Which Mode?
Native - uses the acceleration curve MouseMux measured from your system at startup. Disable - raw 1:1 input, no acceleration. Emulate - pick a specific Windows version curve. Lets different users each have their own acceleration feel.
Acceleration
Fine-tune pointer speed with independent X and Y axis multipliers, applied on top of the acceleration curve from the Ballistics tab. Hover over the numbered spots in the image for details on each element.
Coalescing
Reduce event frequency from high-polling mice by merging rapid events into fewer combined events. Hover over the numbered spots in the image for details on each element.
Buttons
Swap mouse buttons for left-handed use and adjust double-click timing. Settings are per-user. Hover over the numbered spots in the image for details on each element.
Wheel
Control scroll speed, direction, and horizontal wheel emulation. Hover over the numbered spots in the image for details on each element.
Theme
Change the cursor appearance. Assign different colors and sizes to each user so everyone can tell their cursor apart. Hover over the numbered spots in the image for details on each element.
Overlay
Add visual identifiers to cursors. Hover over the numbered spots in the image for details on each element.
Three Layers
Tag - a colored shape (simplest identification). Text - a name label (shows who is who). Icon - an application icon. All three can be enabled at the same time.
Magnifier
Add a magnified view that follows the cursor. Useful for detail work or accessibility. Each user can have their own independent magnifier. Hover over the numbered spots in the image for details on each element.
Lock
Restrict this cursor to a specific monitor or window. Hover over the numbered spots in the image for details on each element.
Two Lock Types
Monitor lock - cursor stays on the selected display. Note that your mouse may move to a different monitor than where the dialog is, so you may need another mouse to undo the lock. Window lock - cursor is confined to a specific application window.
Draw
Draw or annotate directly on the screen. Each user has their own canvas, so everyone can draw at the same time in their own color without getting in each other's way. Clearing only removes your drawing - unless you enable Clear for all users. This makes it great for classrooms, brainstorming and live markup where several people annotate together. Hover over the numbered spots in the image for details on each element.
Shortcuts
ALT-D - toggle draw mode. ALT-E - eraser. ALT-C - clear. ALT-O - color picker.
Macros
Record and replay mouse and keyboard actions, generate movement patterns, or jiggle the mouse to prevent screen sleep. The neat multi-user trick: record a sequence once with one user, then save it and load it onto other users or devices to play it back - so a single recording can drive several cursors at the same time. Handy for demos, repetitive testing, automation and setups where many pointers need to do the same thing. Hover over the numbered spots in the image for details on each element.
Shortcuts
ALT-R - start recording. ALT-P - play. ESC - stop (when "Stop on ESC" is enabled).
Replicator
Clone this user's actions to a virtual cursor. The clone mirrors movement, clicks, scrolling and/or keystrokes with adjustable offset and delay. A replicated user can replicate itself again, creating chains. Hover over the numbered spots in the image for details on each element.
Settings
The Settings dialog handles license activation, user configuration persistence, and startup behavior. Hover over the numbered spots in the image to learn about each section.
Saving Your Setup
Load and Save user settings are deliberately separate - you can load a known-good configuration every time without saving changes, creating a "reset on restart" workflow.
Advanced
The Advanced button at the bottom opens the full Advanced Settings tree with every configuration option MouseMux offers.
Settings Reference
Advanced Settings
The Advanced Settings tree gives access to every configuration option in MouseMux. Hover over the numbered spots in the image to explore each category.
Advanced Settings Reference
Apps
MouseMux Apps are full, standalone applications - a paint program, a web browser, a streaming console - that we bundle and customize to work with MouseMux. They are real apps in their own right, not something running "inside" MouseMux. What MouseMux adds is orchestration: it is the conductor of user input, directing each person's mouse and keyboard to the right app and the right window at the right moment. That is what makes rich, flexible scenarios possible - a whole stack of real apps running at once, each shared in whatever way fits the task.
Apps fall into a few patterns - from full collaboration, to complete isolation, to configuration that shapes how MouseMux itself behaves.
Multi-user apps
The richest scenario is collaboration: several people act inside the same app at the same time, with no taking turns - everyone clicks, drags and types together. No passing the mouse around, no "your turn / my turn", no one person driving while the rest just watch. The friction of crowding around a single screen simply disappears, and the work moves at the speed of the whole group. It feels like everyone finally has their own hands on the same thing.
Some examples are:
Whiteboard
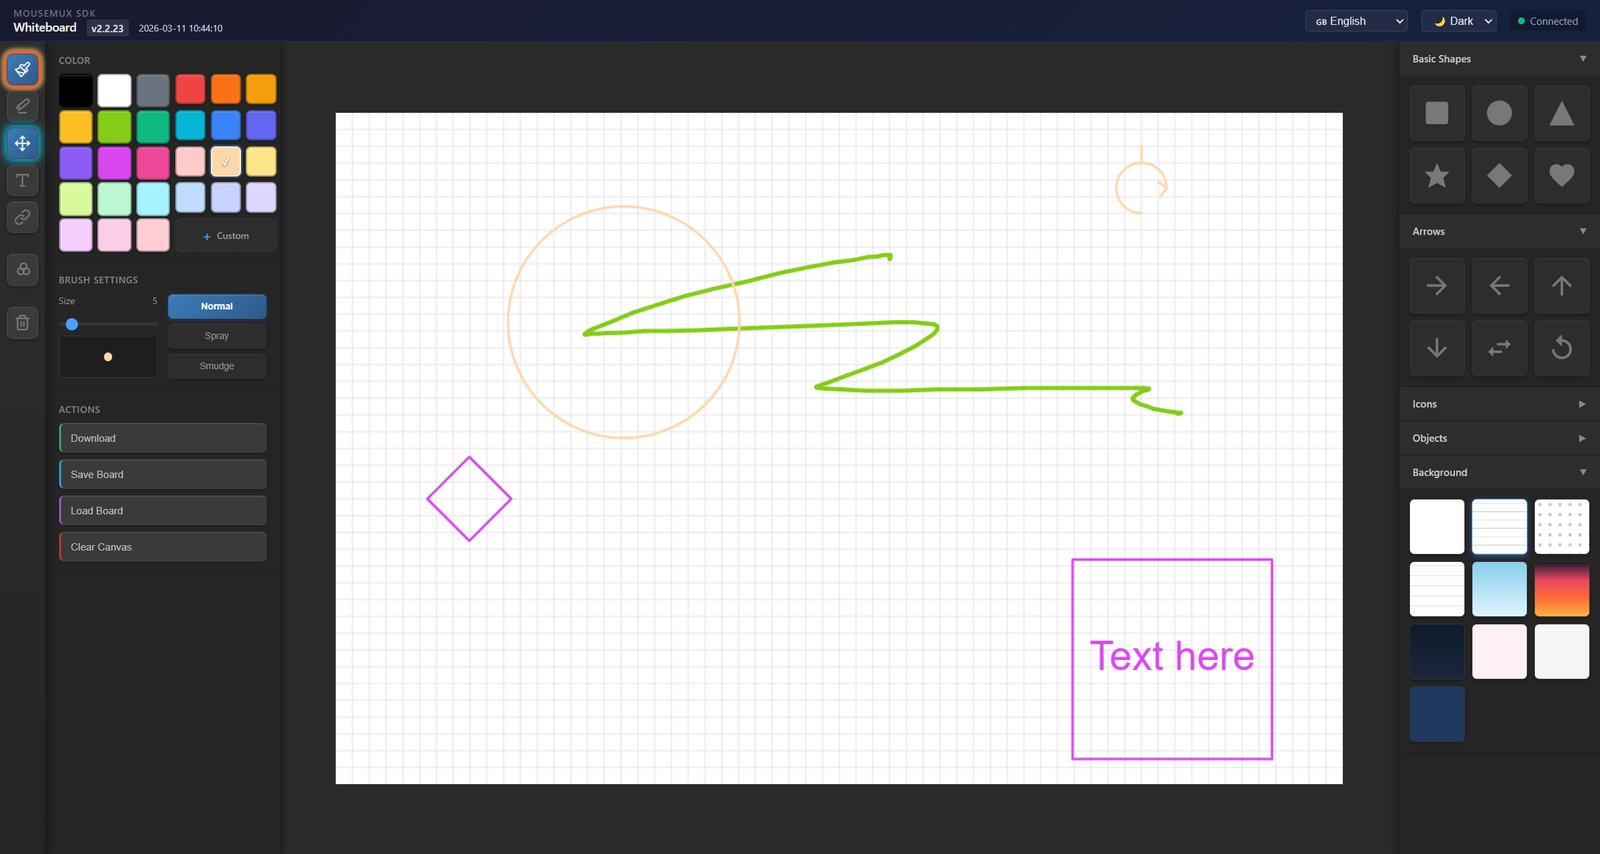
A shared whiteboard where everyone draws, adds shapes, text and sticky notes together in real time, each with their own color-coded cursor. Great for teaching, planning sessions and remote workshops where the whole room needs to contribute at once instead of one person scribing for everybody.
OBS Control Console
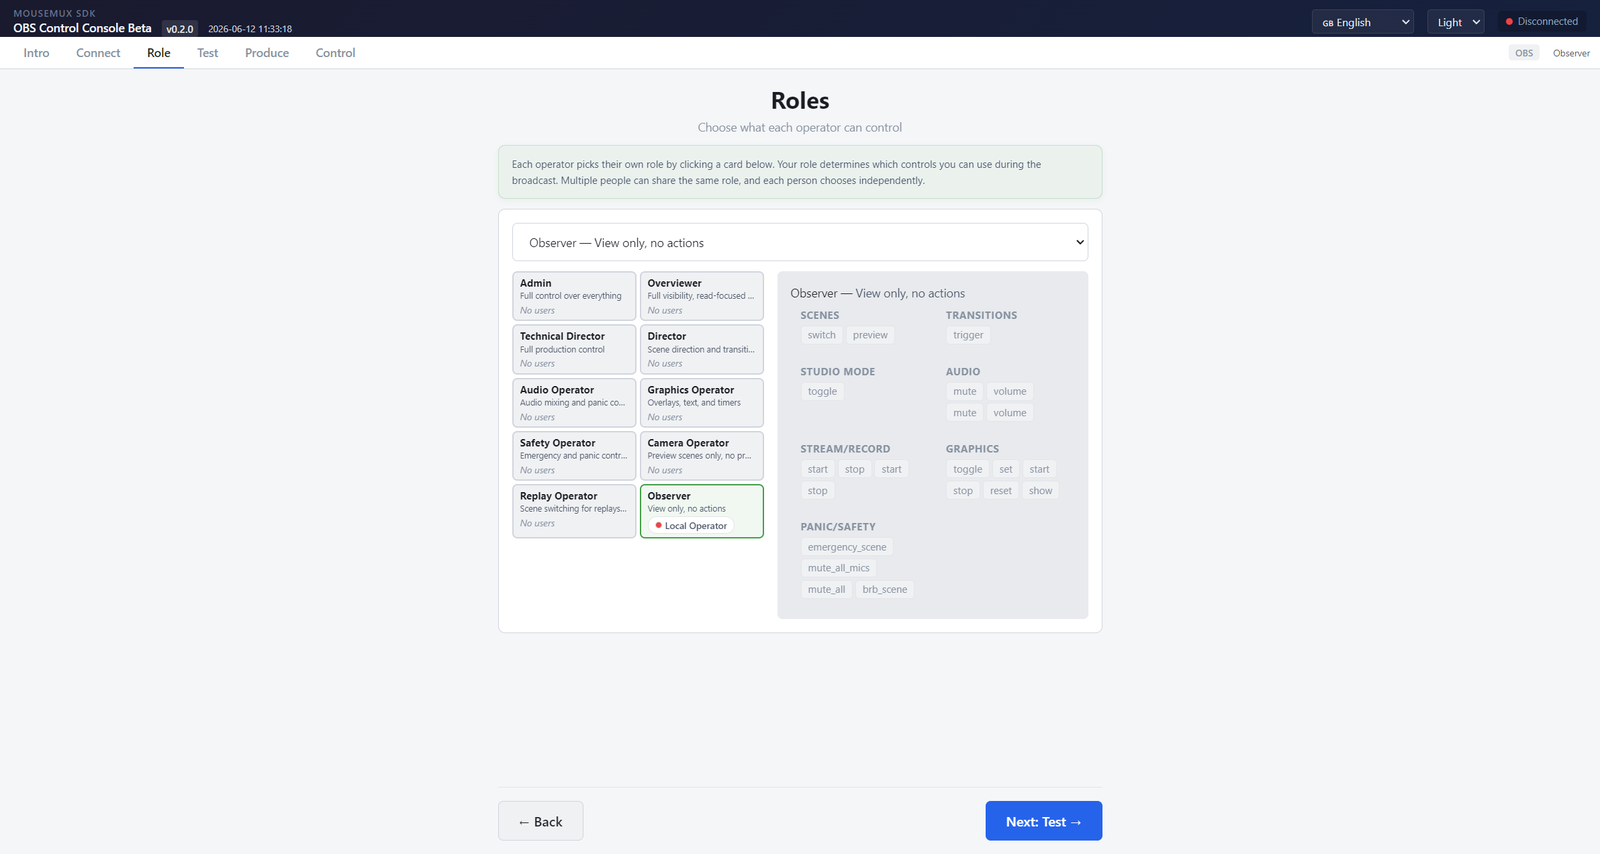
Run a live OBS Studio production as a team. Manage scenes, sources, audio and recording from one shared console, and assign roles like Director and Operator so each person owns their part of the broadcast. Ideal for live streams, events and studio setups where one operator simply is not enough.
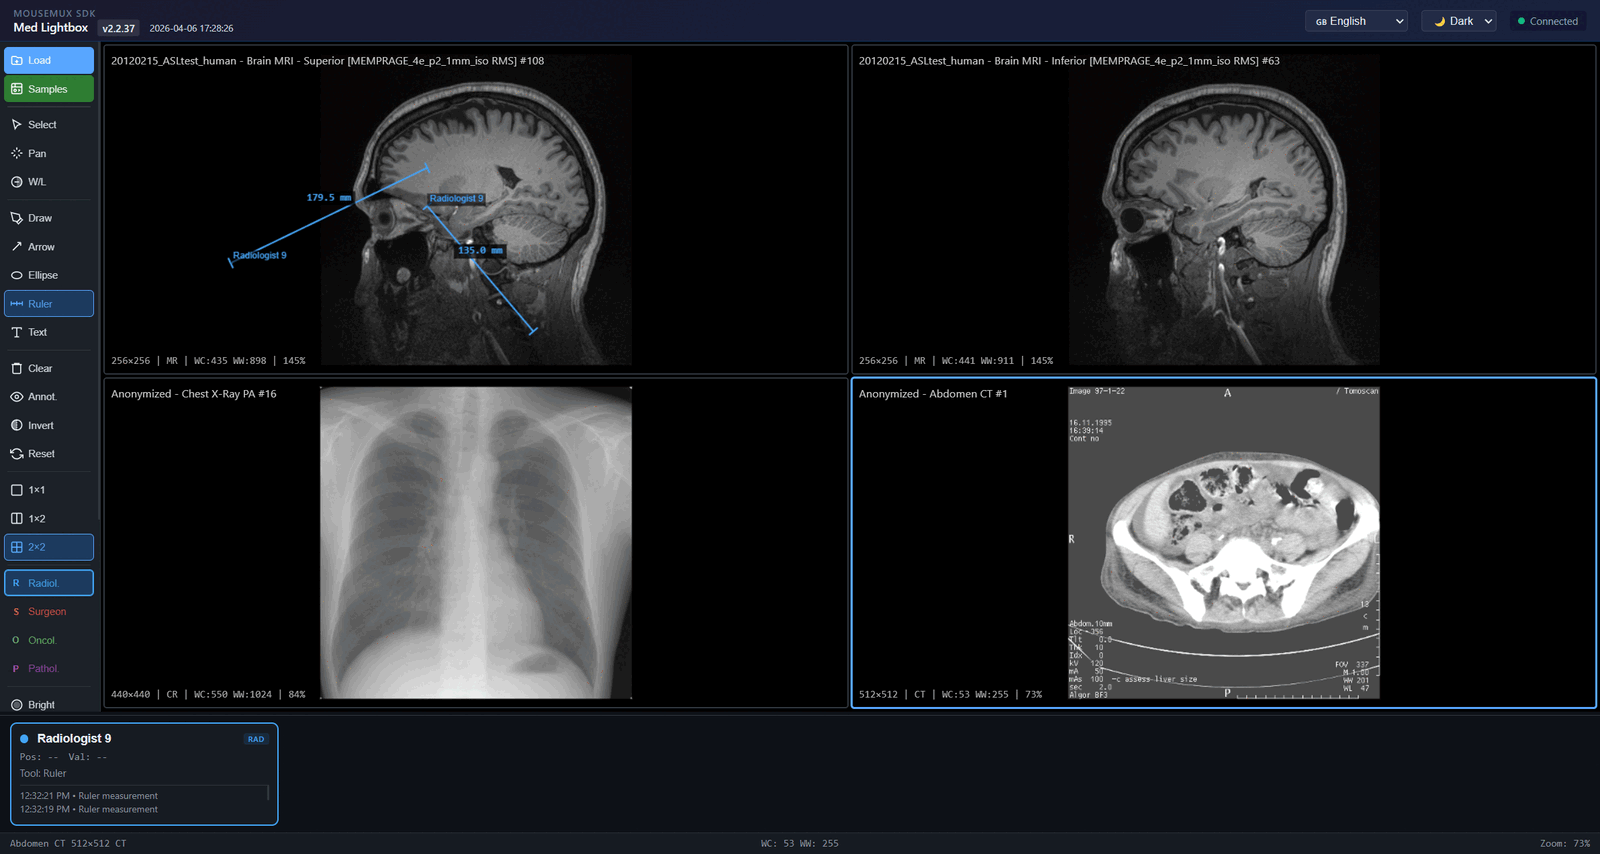
Med Lightbox
A multi-user medical lightbox. Several clinicians view, annotate and measure the same DICOM scans (X-ray, CT, MRI) side by side, each with their own mouse. Built for radiology reviews, tumor boards and teaching, where doctors need to point, draw and measure on one scan together rather than taking turns.
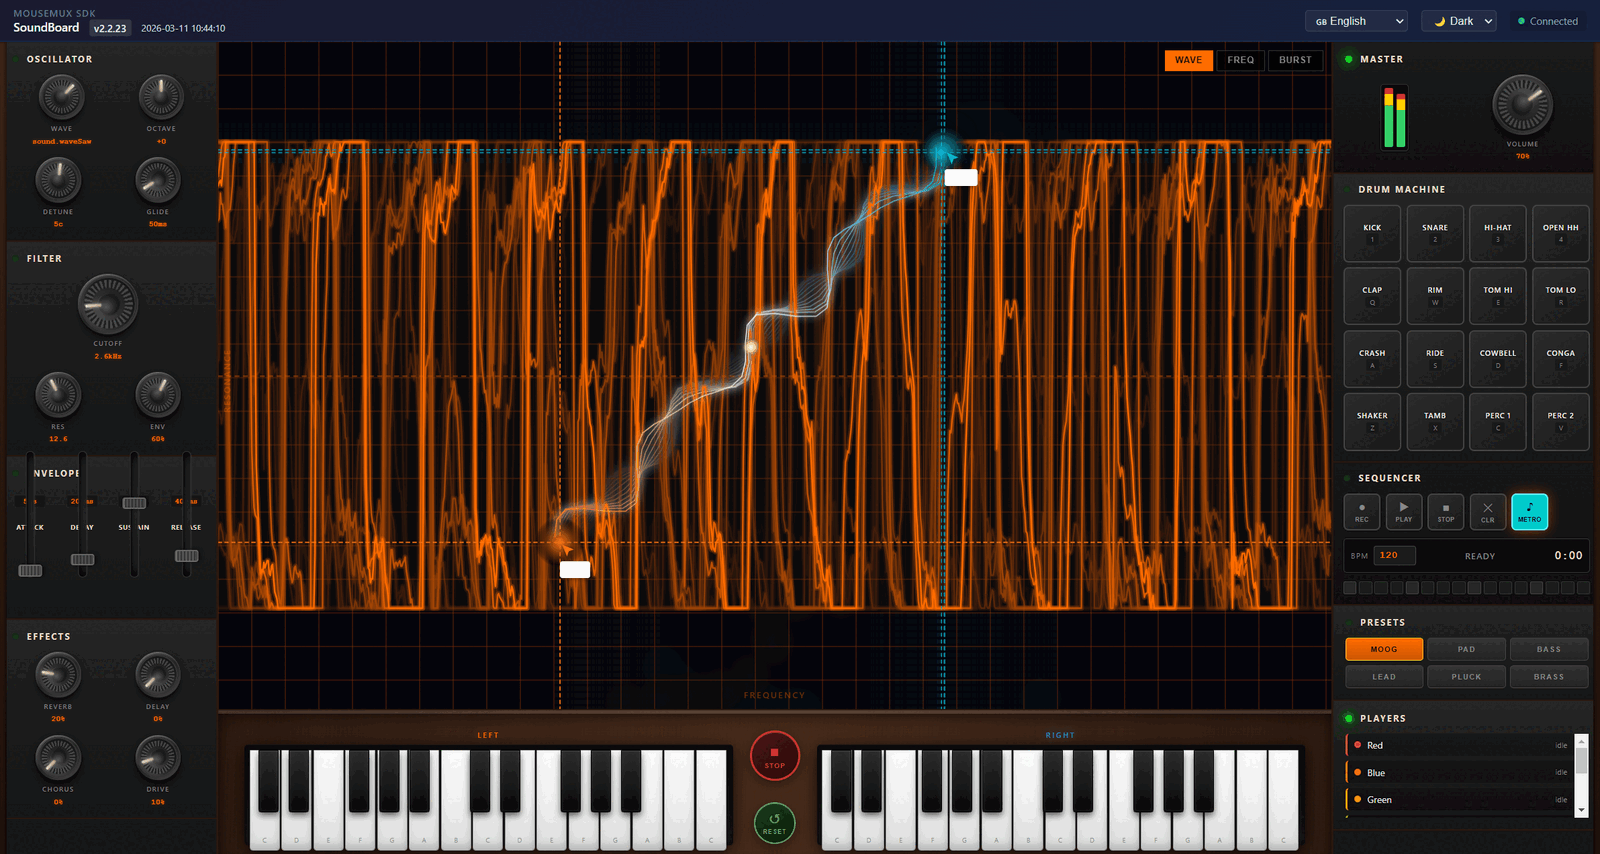
SoundBoard
Make music together on Moog-inspired synthesizers, drum machines and keyboards. Each person plays and shapes the sound directly while live visuals react in real time. Perfect for jam sessions, music classes and hands-on interactive installations.
Multi-seat browsers
The opposite scenario is isolation: an app, or even a single window, is locked to one user and stays completely private to them.
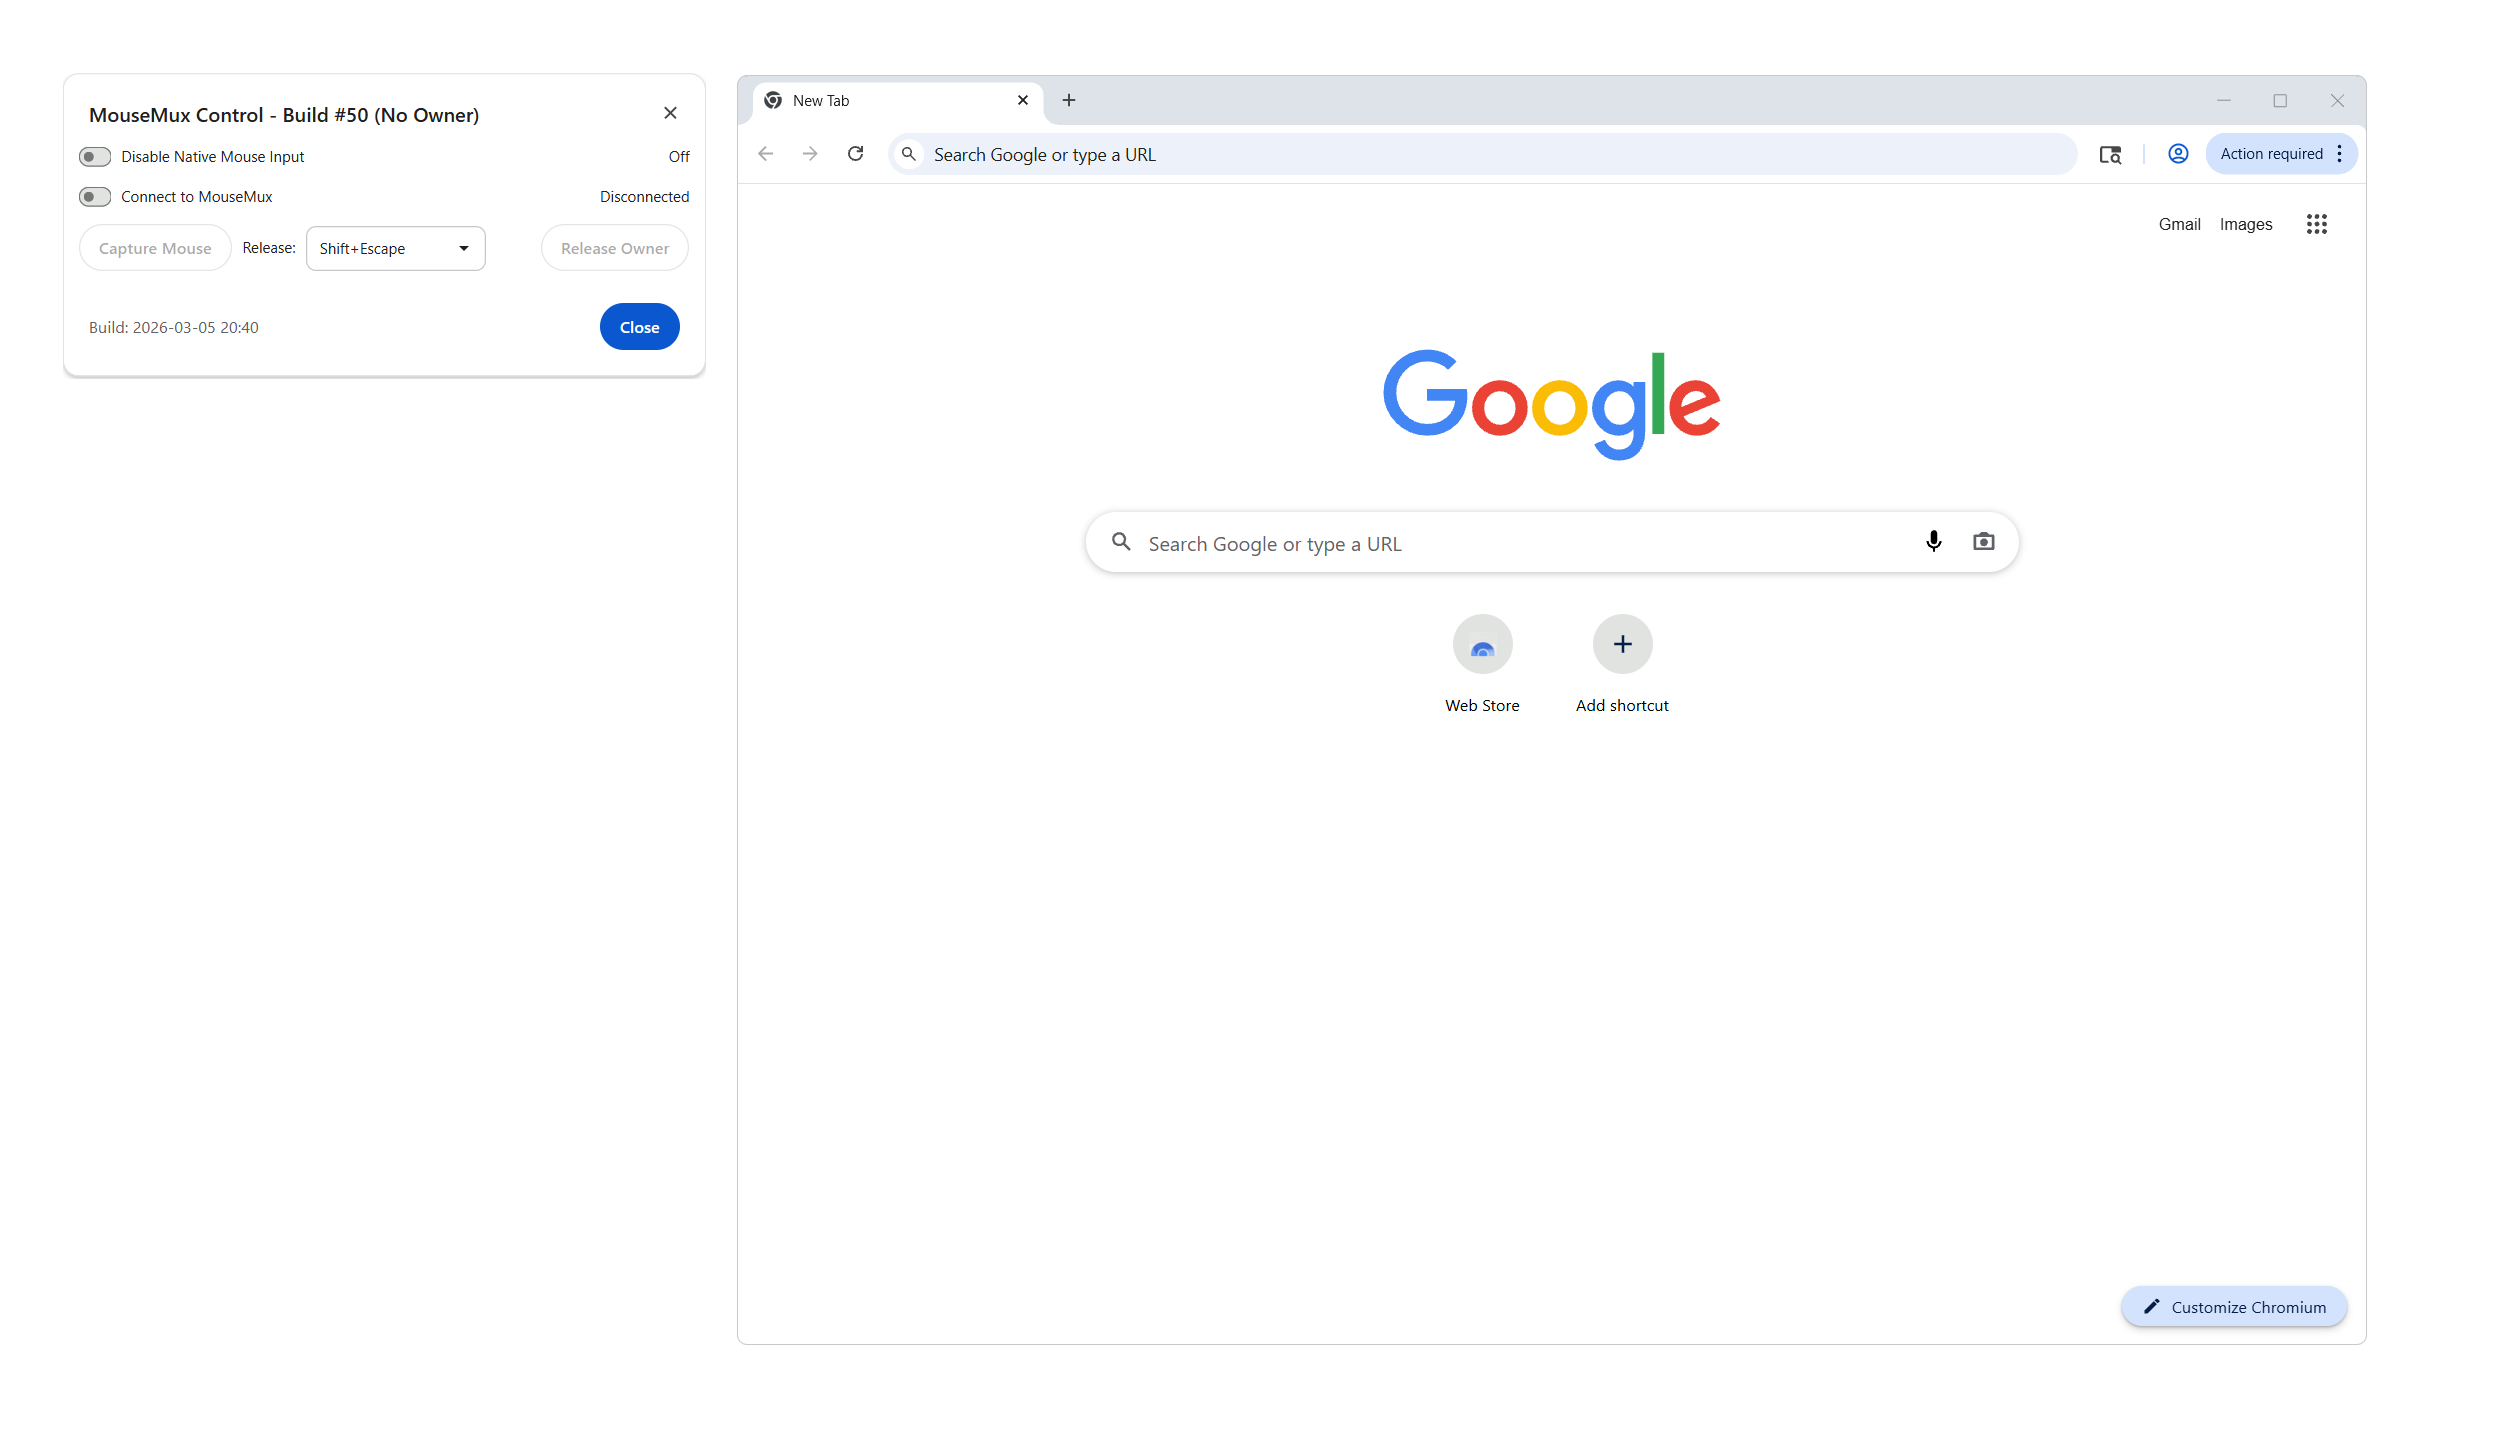
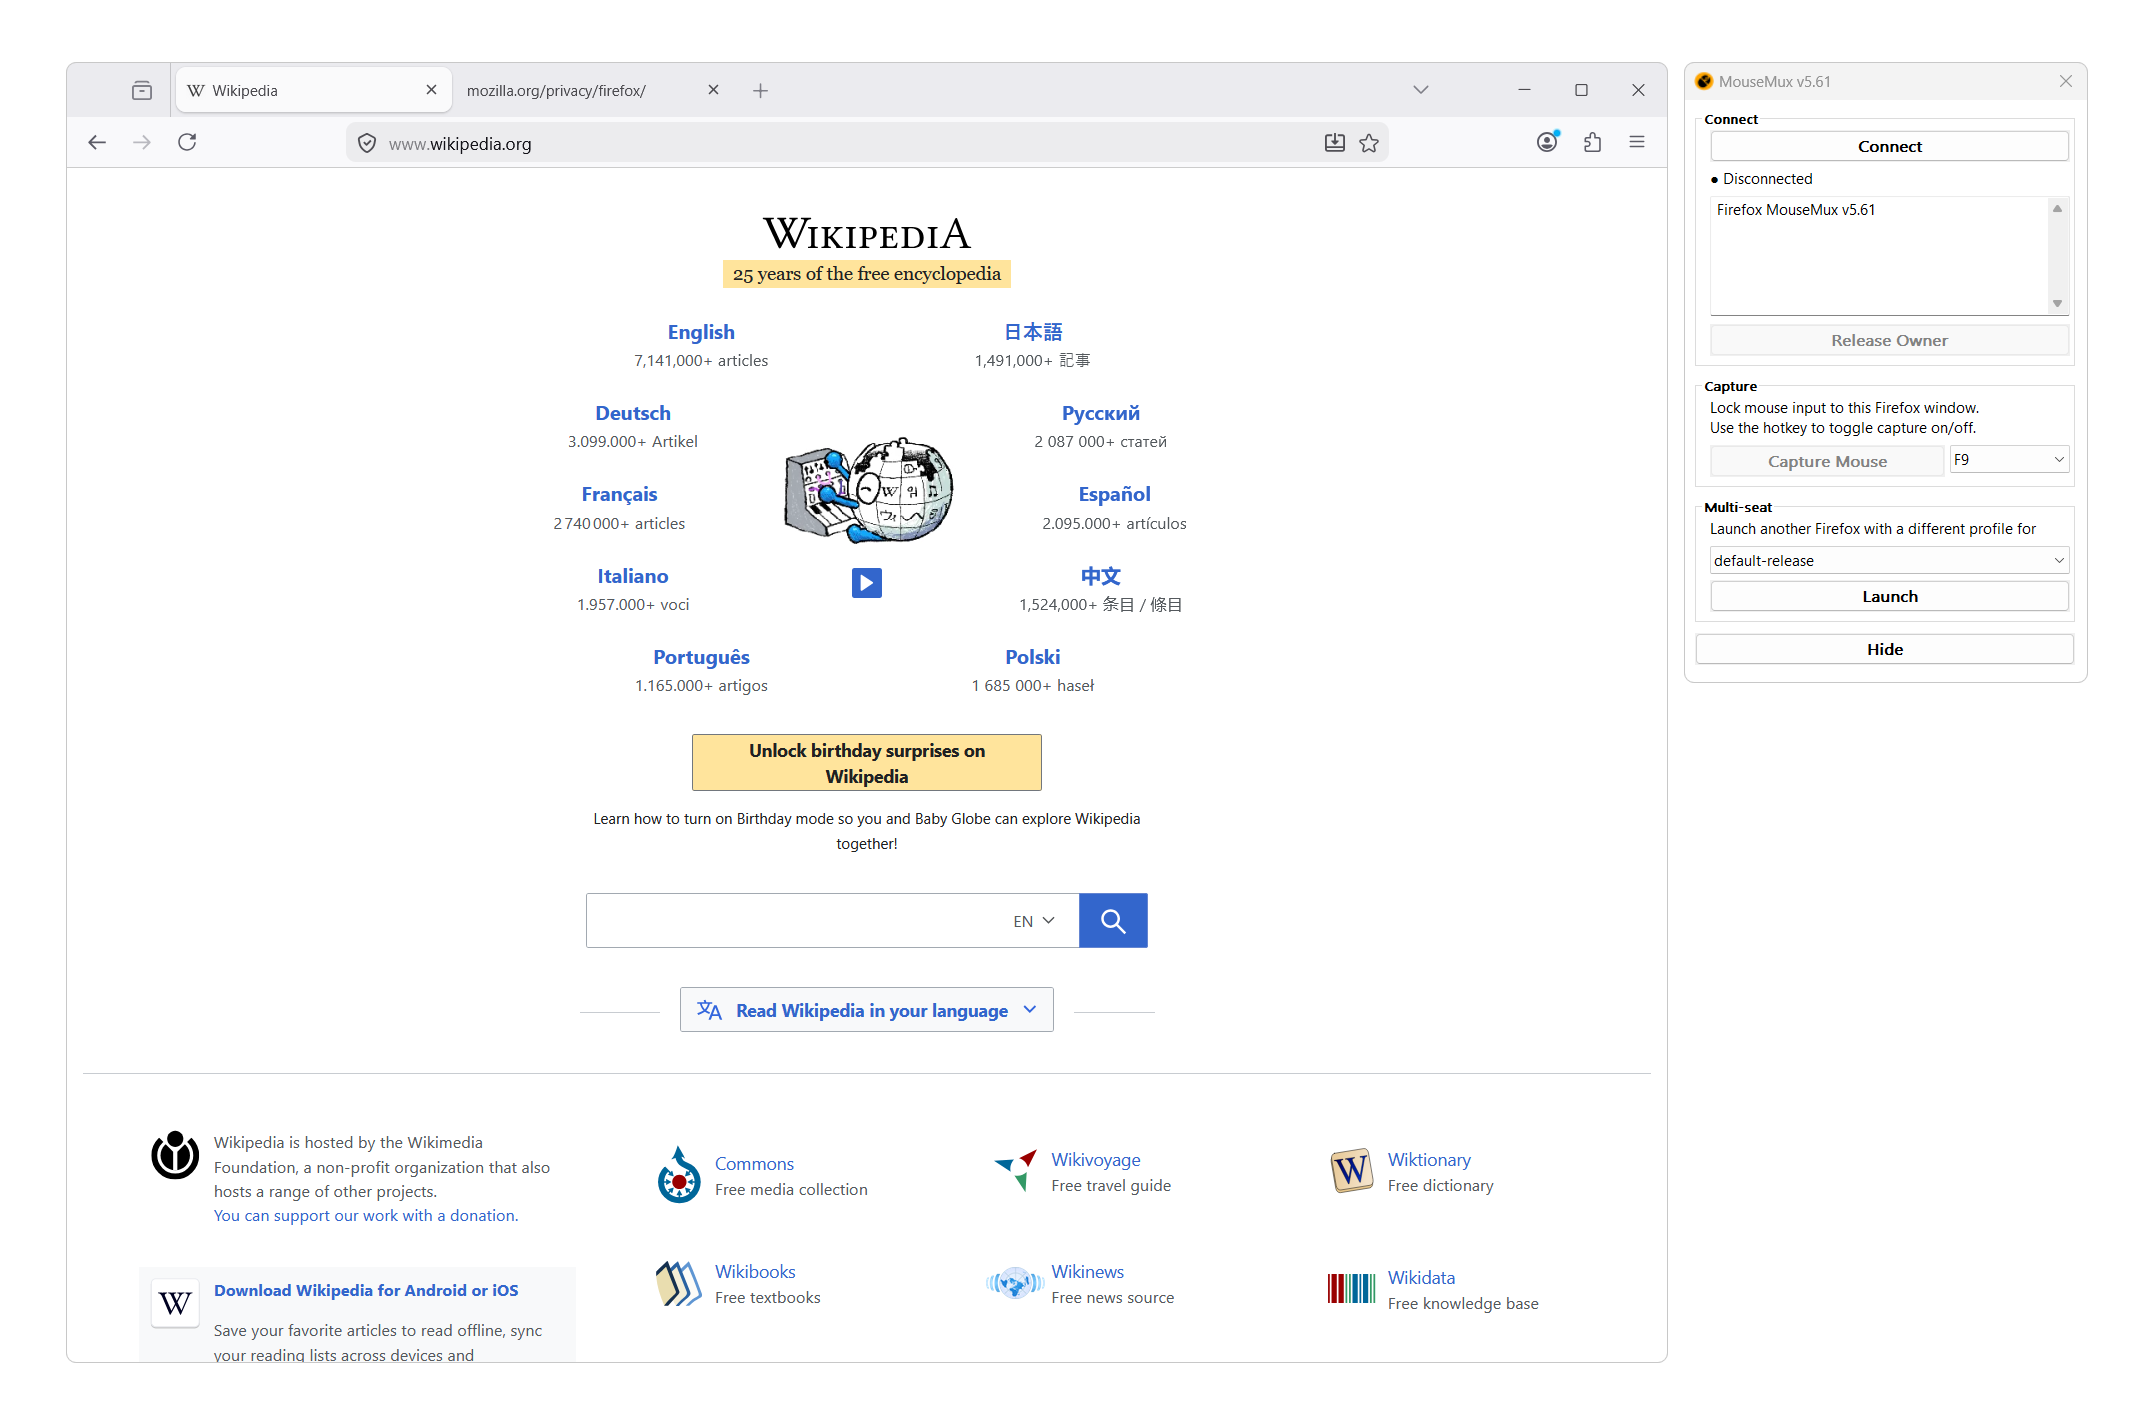

Chrome and Firefox are the real, native browsers, customized by the MouseMux team to work as a seat. Each browser is isolated from normal Windows input - it does not listen to the desktop at all. Instead it listens only to the one MouseMux user you lock to it. You can take it a step further and block that user's input from reaching the rest of the OS, so that user can only ever interact with their browser and nothing else - private and very safe, ideal for kiosks and locked-down stations.
It also lets remote users work in their own browser running on your PC. Because the browser belongs to a single user and runs from your machine, a remote person can reach a site that is locked to your IP address or location - while you and others carry on using the same computer in your own browsers, completely independently.
Run several at once and the desktop becomes multi-seat: two or more people each drive their own isolated browser side by side, with their own windows, tabs, logins and cursor, and neither able to disturb the other.
Configuration
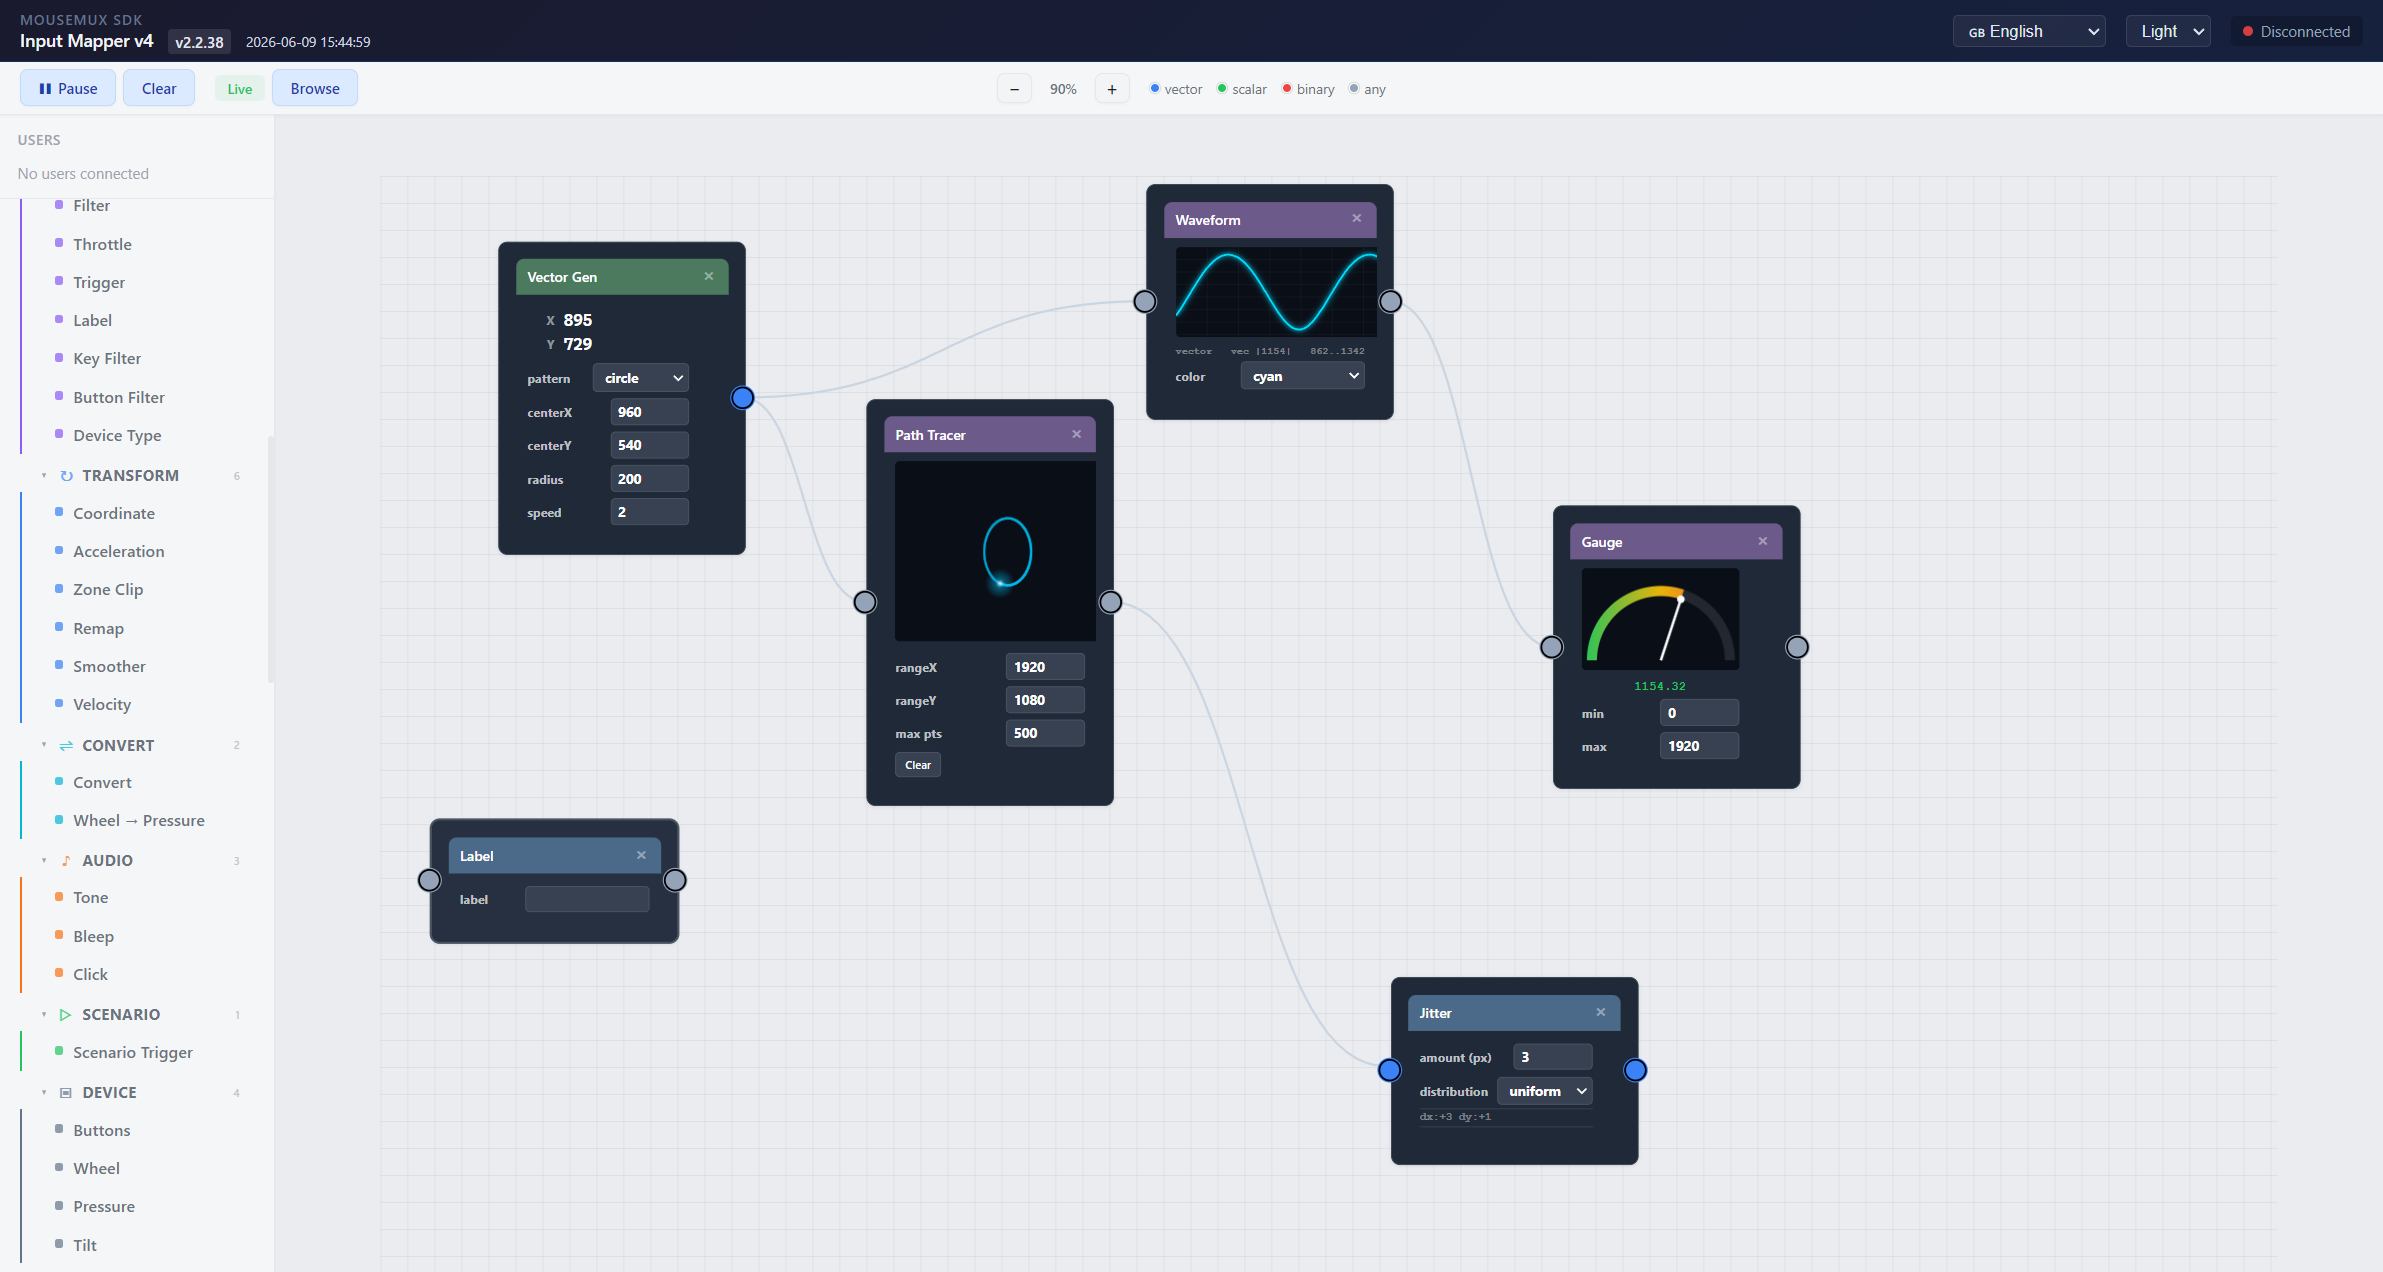
A third kind are configuration apps - tools that shape how MouseMux behaves and how input flows, rather than something you collaborate in. The centerpiece is the Input Mapper: a visual, drag-and-drop node editor for MouseMux input.
Route mouse and keyboard signals through 90+ nodes - math, filters, gates, macros, audio feedback, screen analysis, network bridges and live visualizers. Record and play back input, create virtual users, build multi-step automations, speak custom protocols, and even bridge input over the internet with TCP and UDP.
It also speaks the Barrier protocol, so it works directly with software KVMs. A software KVM lets one keyboard and mouse control several computers over the network - you glide your cursor off the edge of one machine's screen straight onto the next, as if they were extra monitors, with no extra hardware. MouseMux interoperates with the popular ones: Barrier, Synergy, Input Leap and Deskflow.
If you can picture a flow, you can wire it together visually - it is a totally flexible tool for building almost anything you want on top of MouseMux input.
App Launcher
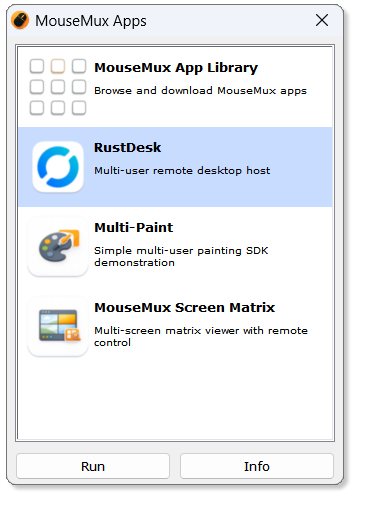
Press Apps in the main window to open the App Launcher - quick access to the applications installed on this machine that have been tested and customized for multi-cursor use. Select an app and press Run to launch it, or Info to read what it does. The top entry opens the App Library where you can browse and download more apps.
App Info
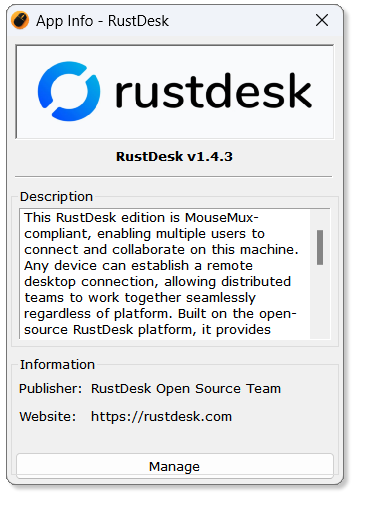
Press Info to see the app's logo, version, full description, publisher and website. From here, press Manage to maintain the app.
Manage
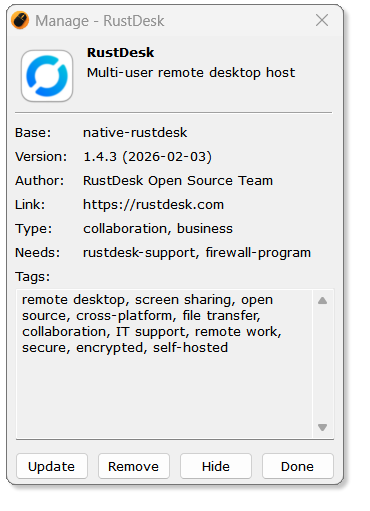
The Manage dialog shows the technical details of an installed app: base package, version and release date, author, link, type, requirements (Needs) and tags.
Update - update the app to the latest version. Remove - uninstall the app from the launcher. Hide - keep the app installed but hide it from the list. Press Done when finished.
App Library
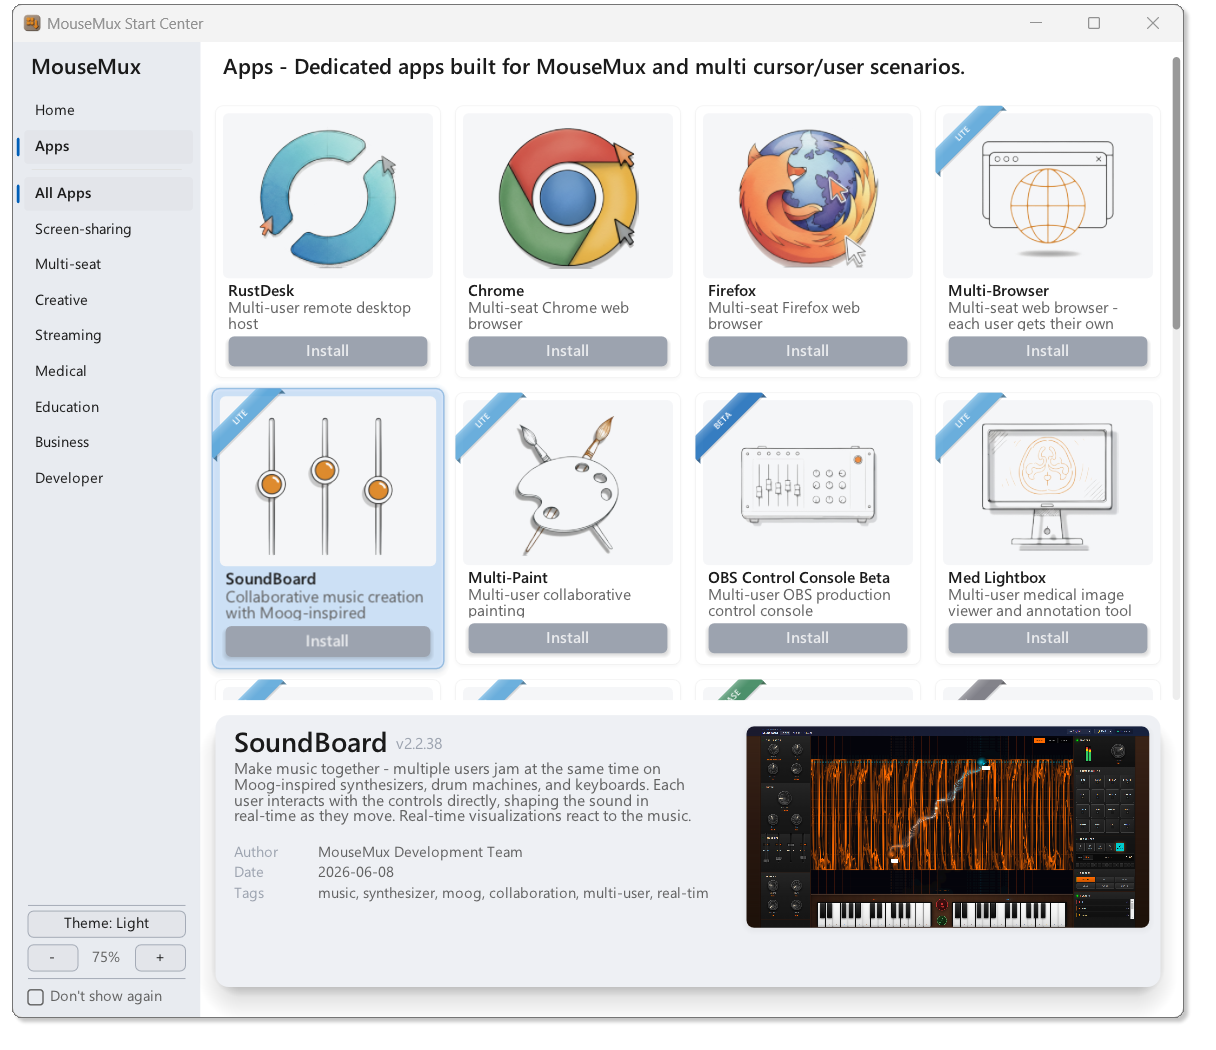
The App Library is where you browse and download new apps. Open it from the top entry in the App Launcher, or switch to the Apps tab in the Start Center. Downloaded apps appear in the App Launcher, ready to run.
How it works
The sidebar on the left has the Home and Apps views plus a category list - All Apps, Screen-sharing, Painting, Creative, Streaming, Medical, Education, Business and Developer. Pick a category to filter the grid.
Every app is shown as a card with its icon and a short description. Hover or select a card and the info pane at the bottom fills with the details: version, full description, author, release date, tags and an animated screenshot preview. Press Install on a card to download the app - once installed it appears in the App Launcher.
Keyboard shortcuts
| Key | Action |
|---|---|
| Arrow keys | Move between apps in the grid, or up and down the sidebar |
| Tab | Switch focus between the sidebar and the app grid |
| Enter / Space | Open the focused item or install the focused app |
| Mouse wheel | Scroll the app grid |
Zoom & theme
At the bottom of the sidebar you find the display controls:
- Theme - switch the entire library between Light and Dark.
- - / + - zoom the whole window in 10% steps; the current scale is shown between the buttons (e.g. 75%).
- You can also simply resize the window - the interface scales along with it and briefly shows the new percentage while you drag.
- Don't show again - skip opening the Start Center on future launches.
The zoom level and theme are remembered between sessions.
The App Launcher can be disabled in Advanced Settings under Features.
Capture Device
The capture device is a special virtual input that catches mouse and keyboard events injected into Windows by software or certain hardware, and turns them into their own independent MouseMux user with their own cursor. You enable it whenever input is reaching Windows without coming from a normal, plugged-in pointer.
To enable it: open Advanced Settings, go to Input > Capture and switch on the capture device. A new red capture user appears in the main window device list, ready to be configured like any other user.
You need the capture device for these common cases:
- Laptop trackpads and high-precision touchpads that inject their input into Windows (see Trackpads & Touchpads)
- Remote desktop users connecting through TeamViewer, AnyDesk or Chrome Remote Desktop (see Remote Desktop)
- Auto-clickers and macro programs that inject mouse or keyboard events
Auto-clickers & Macro Programs
Programs that inject mouse/keyboard events (auto-clickers, macro recorders) are captured by the capture device and routed to the red user. Follow the same steps as Remote Desktop below.
Remote Desktop
MouseMux gives remote users their own independent cursor on your screen, so a local and a remote user can work side by side instead of fighting over a single pointer.
RustDesk works natively. With the built-in RustDesk integration, a remote user connects and instantly gets their own MouseMux cursor on your desktop - no capture device needed. Install RustDesk from the App Library and connect as usual.
TeamViewer, AnyDesk and Chrome Remote Desktop work through the capture device, which catches the injected remote input and turns it into its own MouseMux user:
- Enable the capture device in Advanced Settings under Input > Capture.
- Go to the red user's Input tab and uncheck Disable this device. Do the same in the Keyboard tab.
- If you get double clicks, open Advanced Settings > Maintenance > Service Configuration and enable Block (external) injection.
- For independent typing, enable the capture keyboard in the red user's Keyboard tab and check Multi keyboard in the main window.
Laptop Trackpads & Touchpads
Most laptop trackpads are "high precision" touchpads: instead of reporting as a normal mouse, they inject their movement directly into the Windows input subsystem. When MouseMux is active that injected input is not tied to a physical device, so the trackpad can appear to stop working.
The fix is simple: enable the capture device. Once it is on, the trackpad's input is captured and routed to its own user, and your trackpad works as normal again. If you also want the trackpad to act as a fully independent user, configure the captured device in its Input tab just like any other pointer.